Welcome to the Barcode Scanner App codelab! In this tutorial, you will learn how to:
- Install the app via terminal
- Verify the service is running
- Simulate external connections using Postman
- Send commands and check responses
- Explore two use cases: a successful scan and an aborted scan
- Castles S1U2 device is required for this codelab
- The device must be connected to a network (via WiFi)
- Barcode Scanner app (only available from the SmartPOS Store)
- Postman installed on your computer (Download Postman)
- Open the SmartPOS Store client app on your device (usually found in the terminal menu).
- Search for "Barcode Scanner" in the SmartPOS Store.
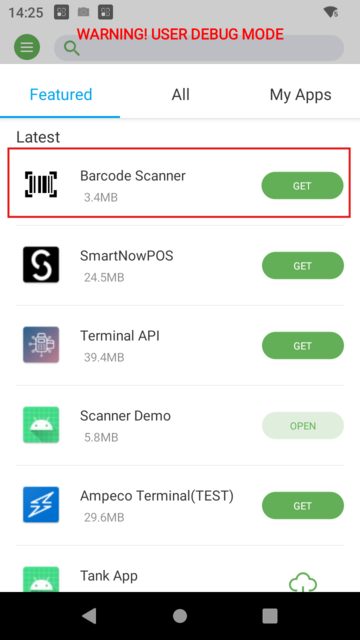
- Install the application directly from the SmartPOS Store.
Note: The Barcode Scanner app is only available as an official release through the SmartPOS Store.
- Confirm installation on your device.
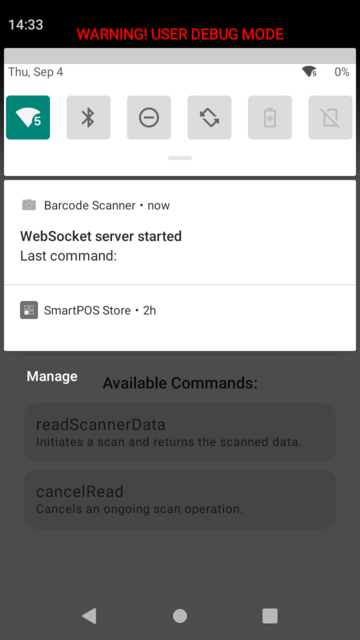
- After installation, check the status bar for the Barcode Scanner app service icon.

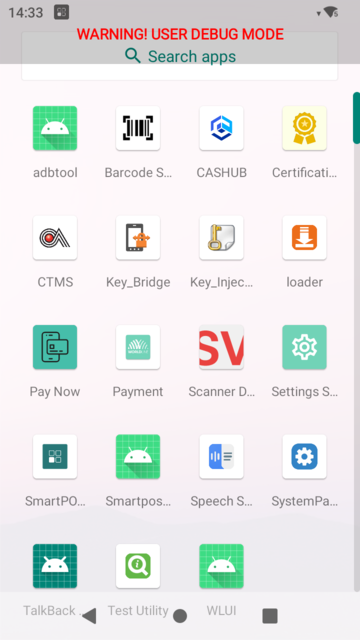
- If the icon is not visible, open the app from the launcher menu.
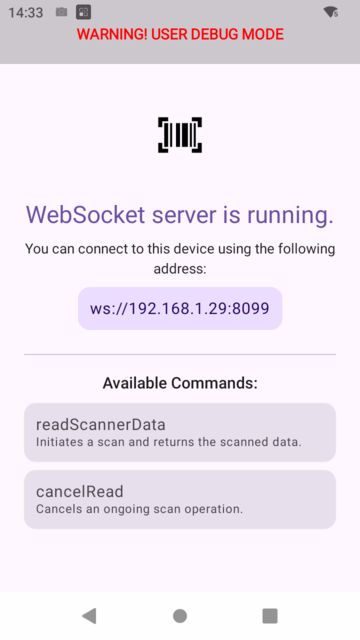
- The main activity will display the service status and WebSocket connection info.
- Verify that the service icon (camera icon) is present in the status bar.

- If an external connection has been established, the notification center will display the connection status.
- The service is now running.
Warning: The WebSocket server must be running for external connections to work.
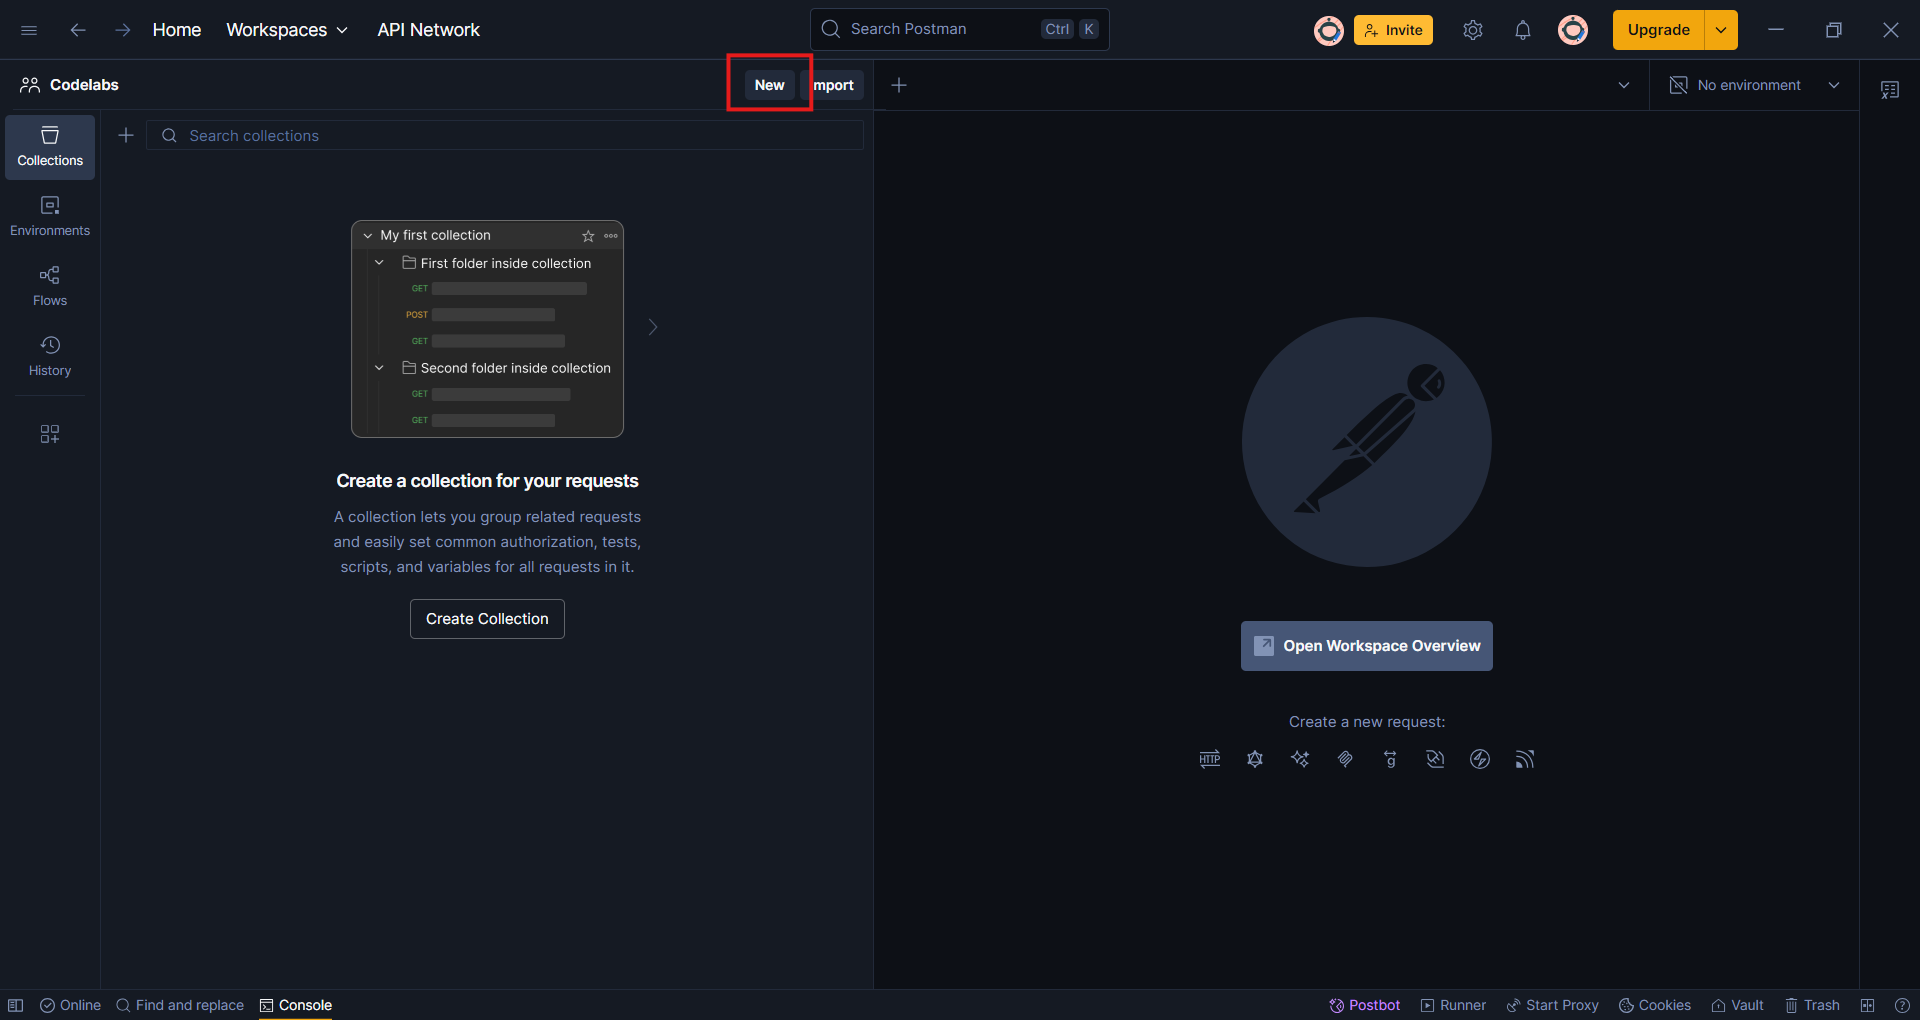
- Open Postman on your computer.
- Create a new collection.
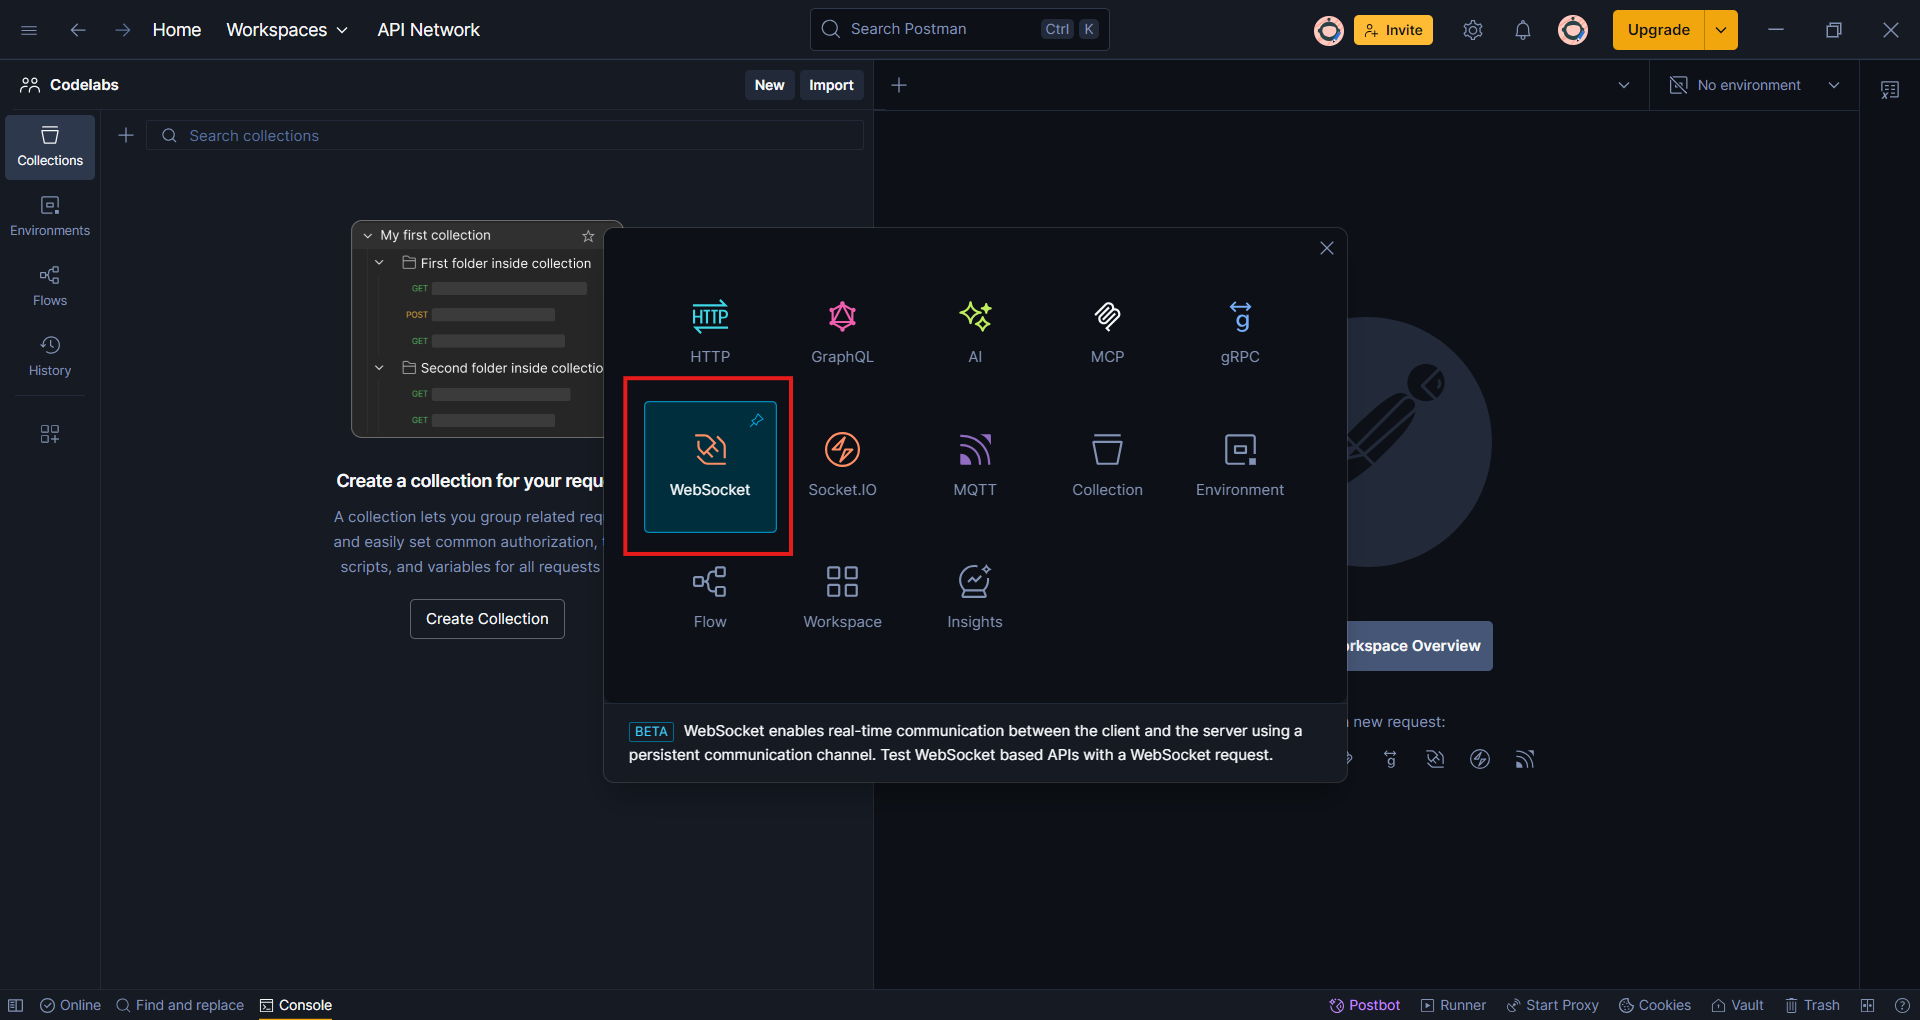
 3. Create a new WebSocket request.
- Enter the WebSocket URL in Postman:
- a. Enter the device IP and port in the URL field:

- b. To find the device IP, check the main activity screen in the app:
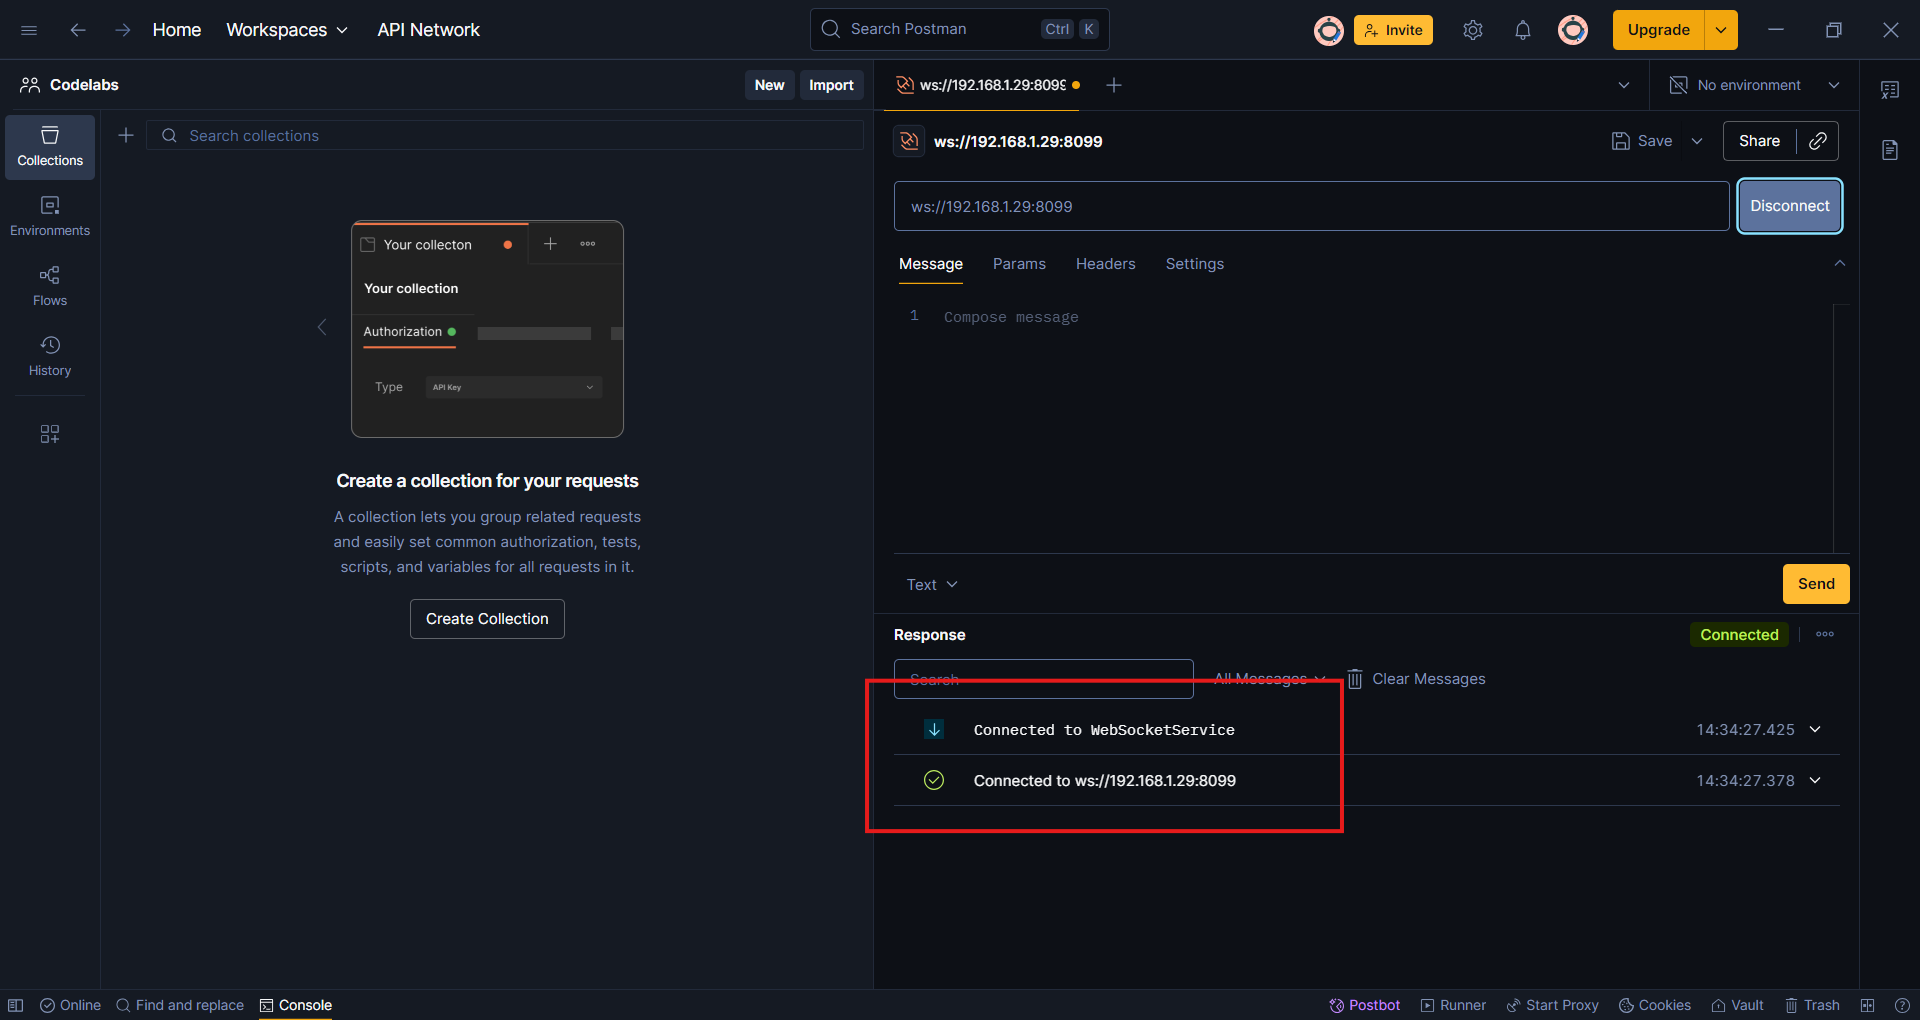
- Click Connect to establish the WebSocket connection.
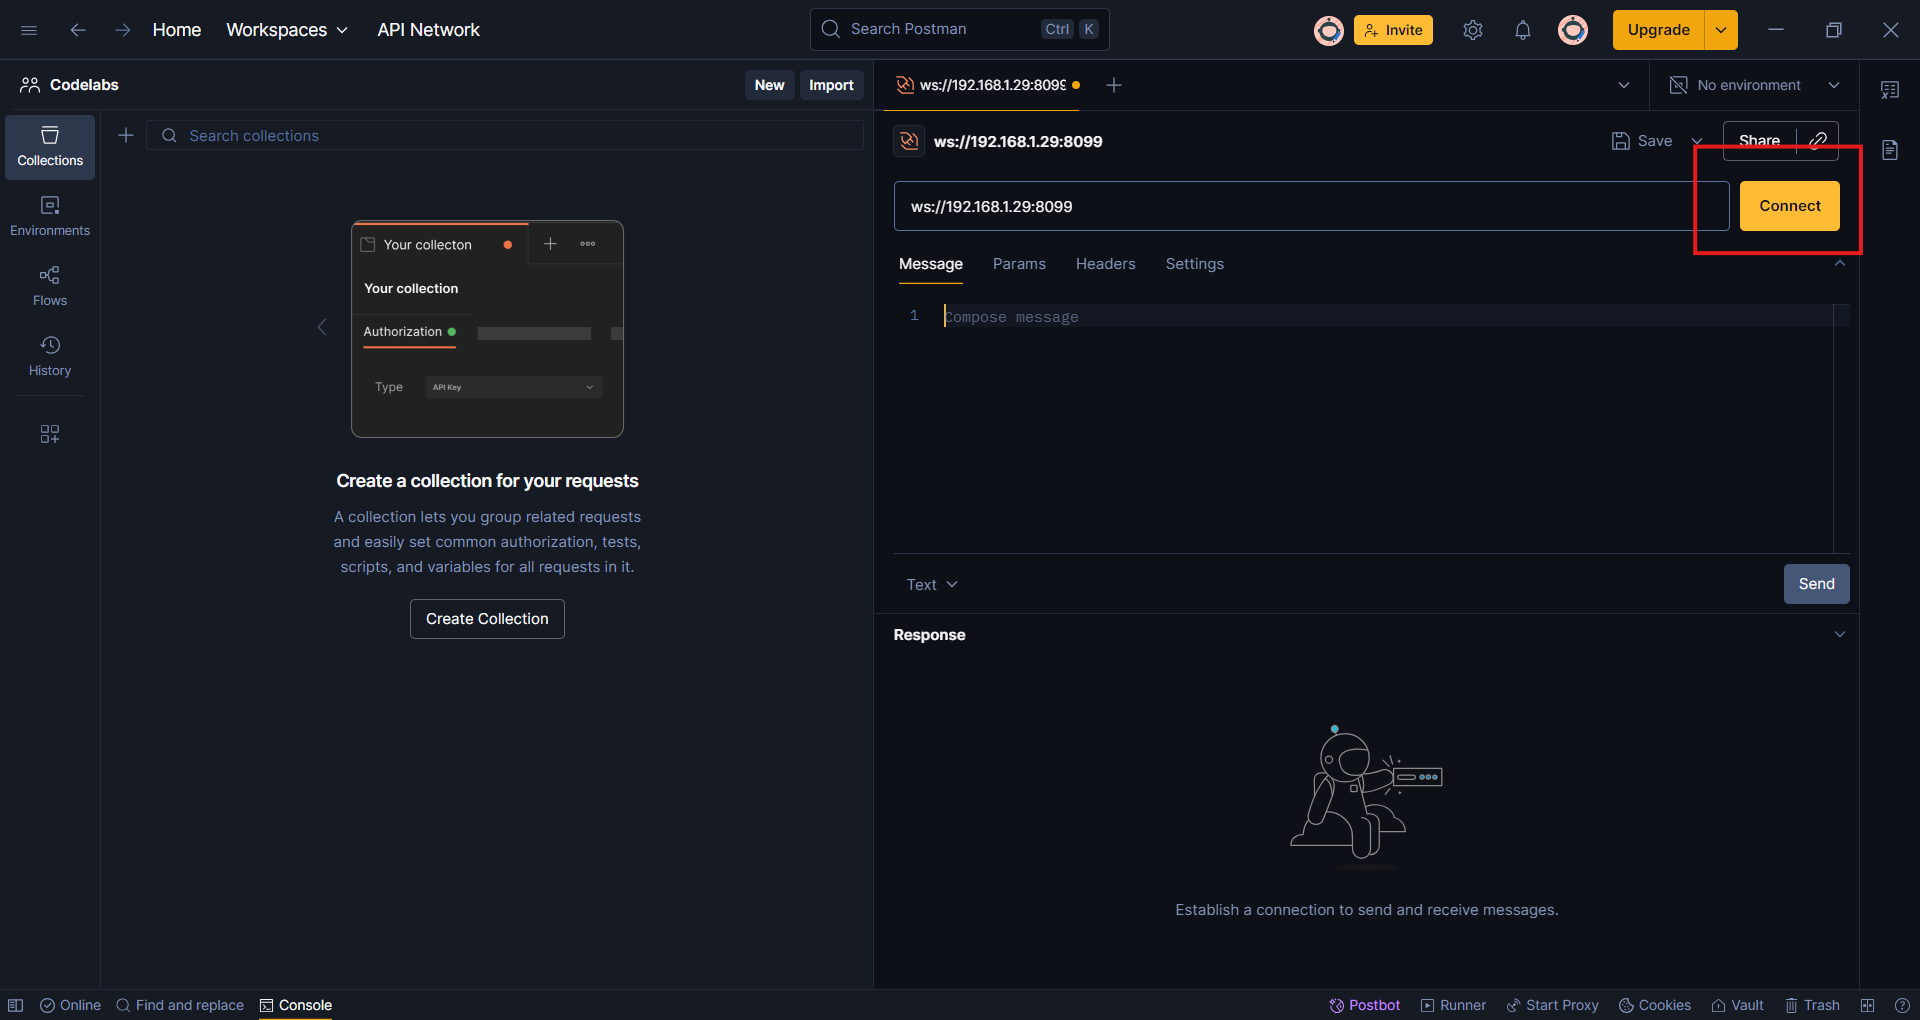
- You should see a successful connection message.
Note: Ensure your computer and device are on the same network.
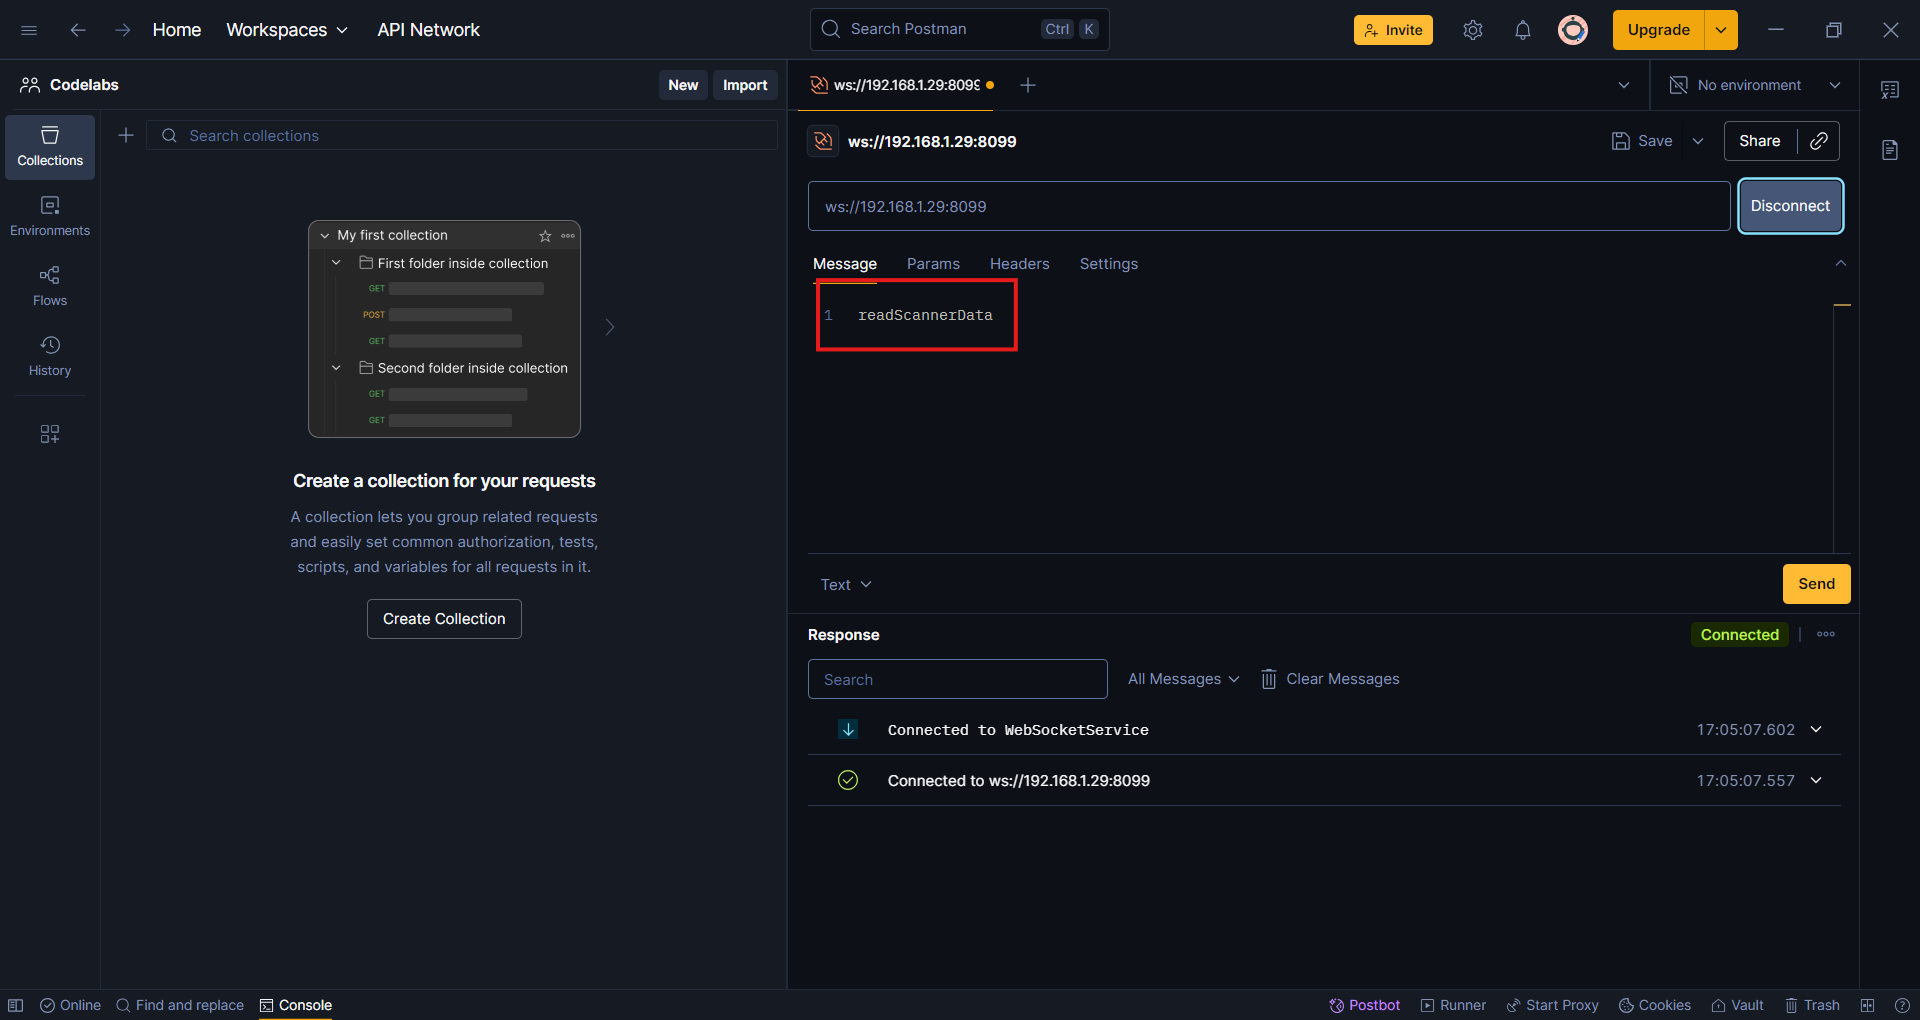
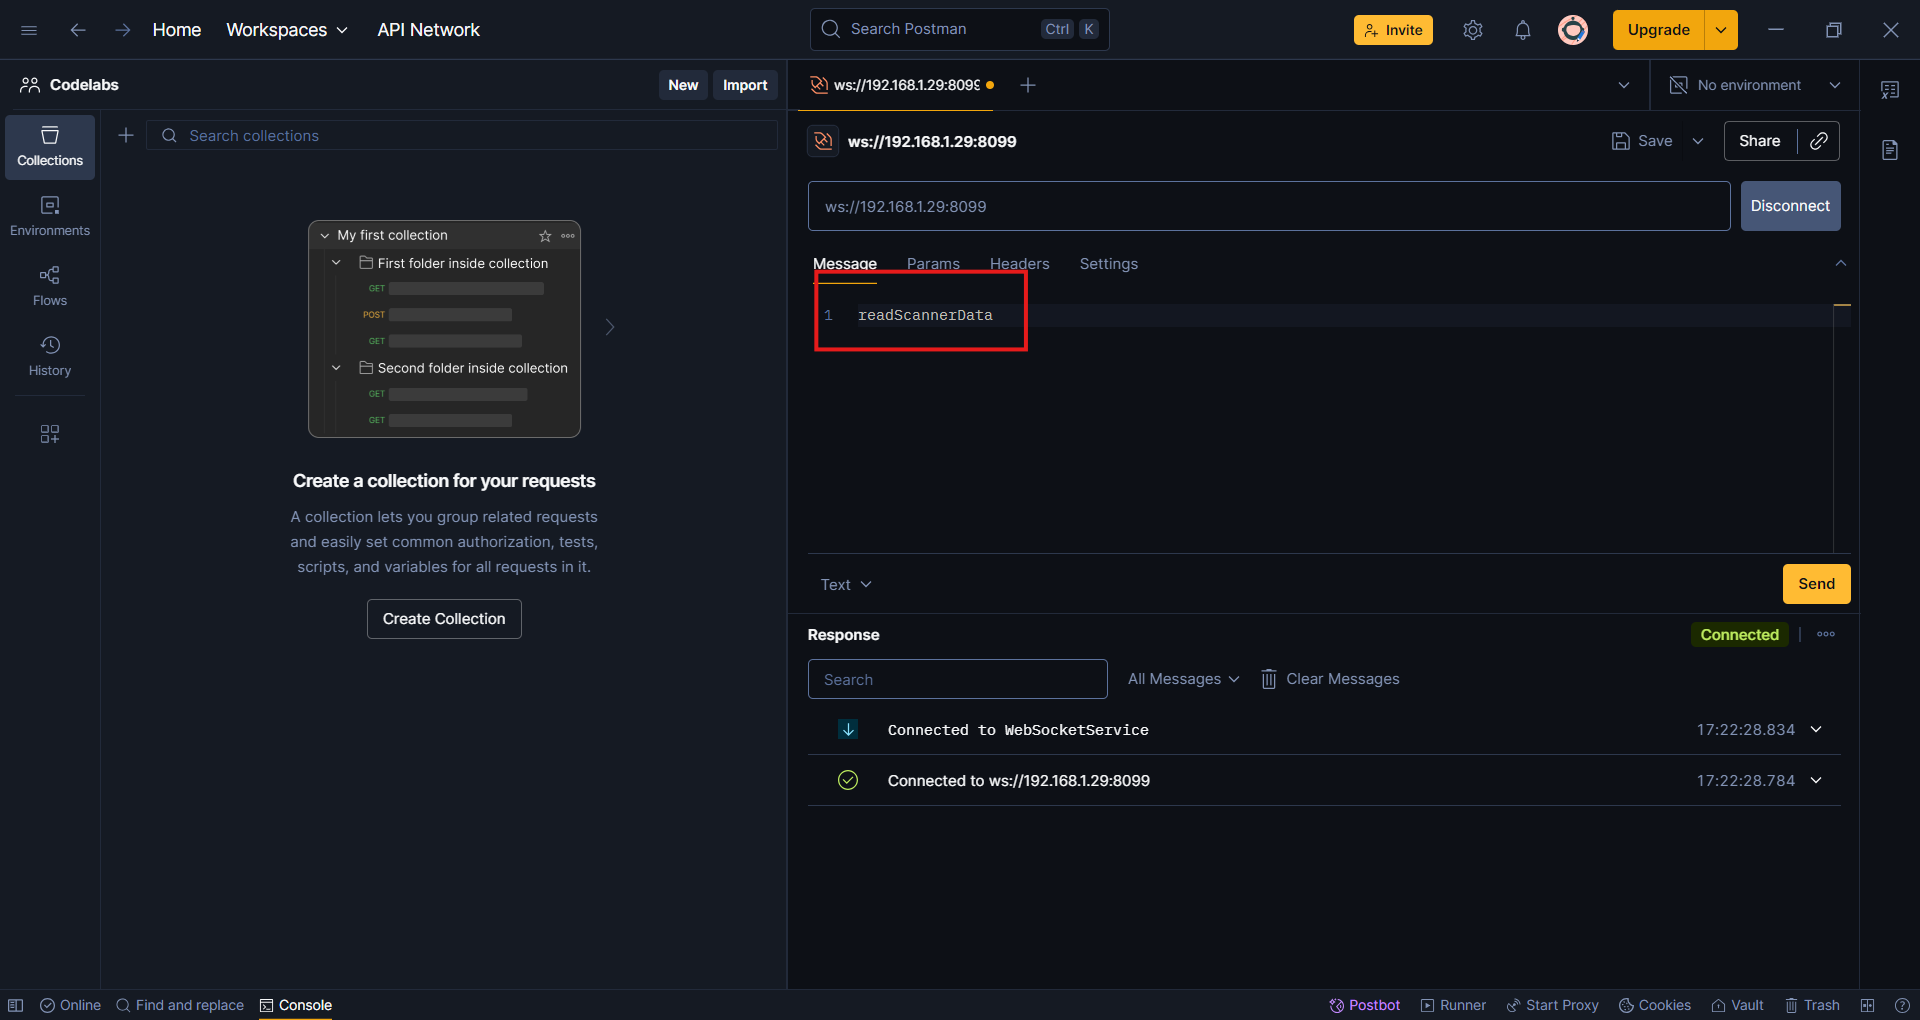
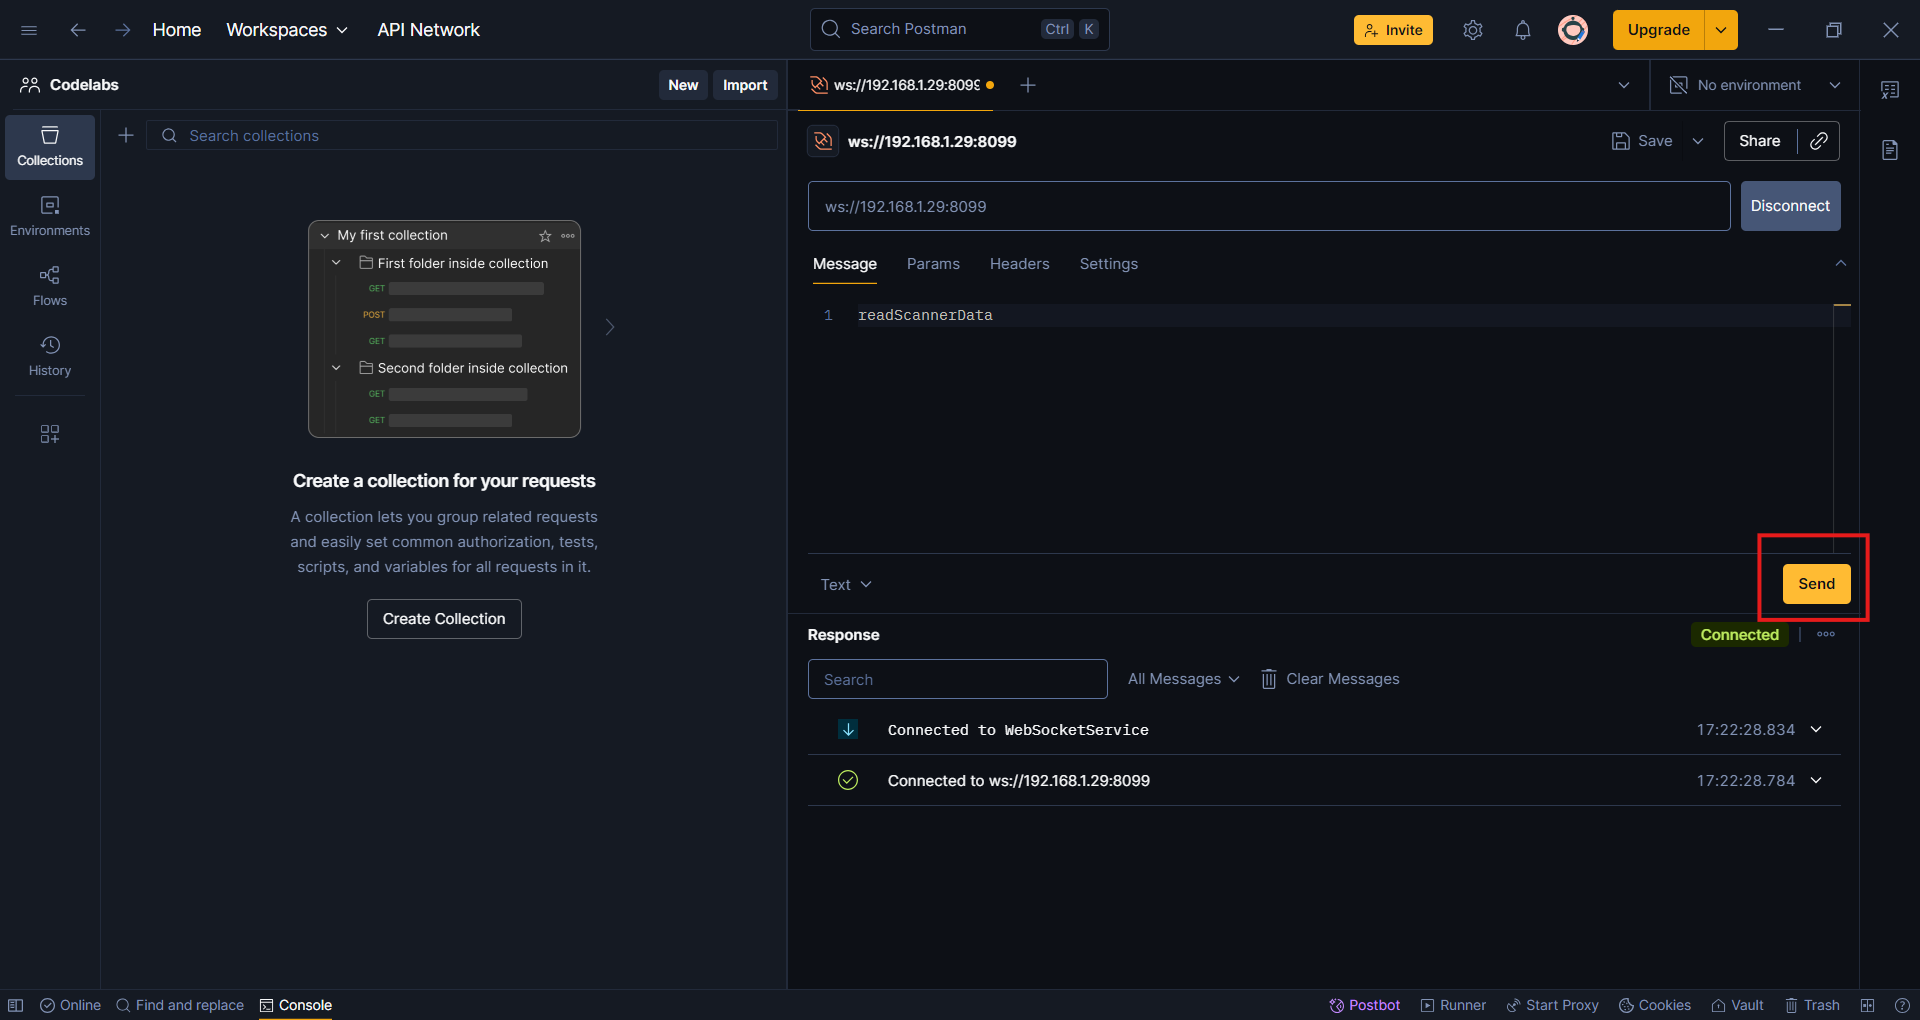
- In Postman, send the following command as a simple string (not JSON):
readScannerData
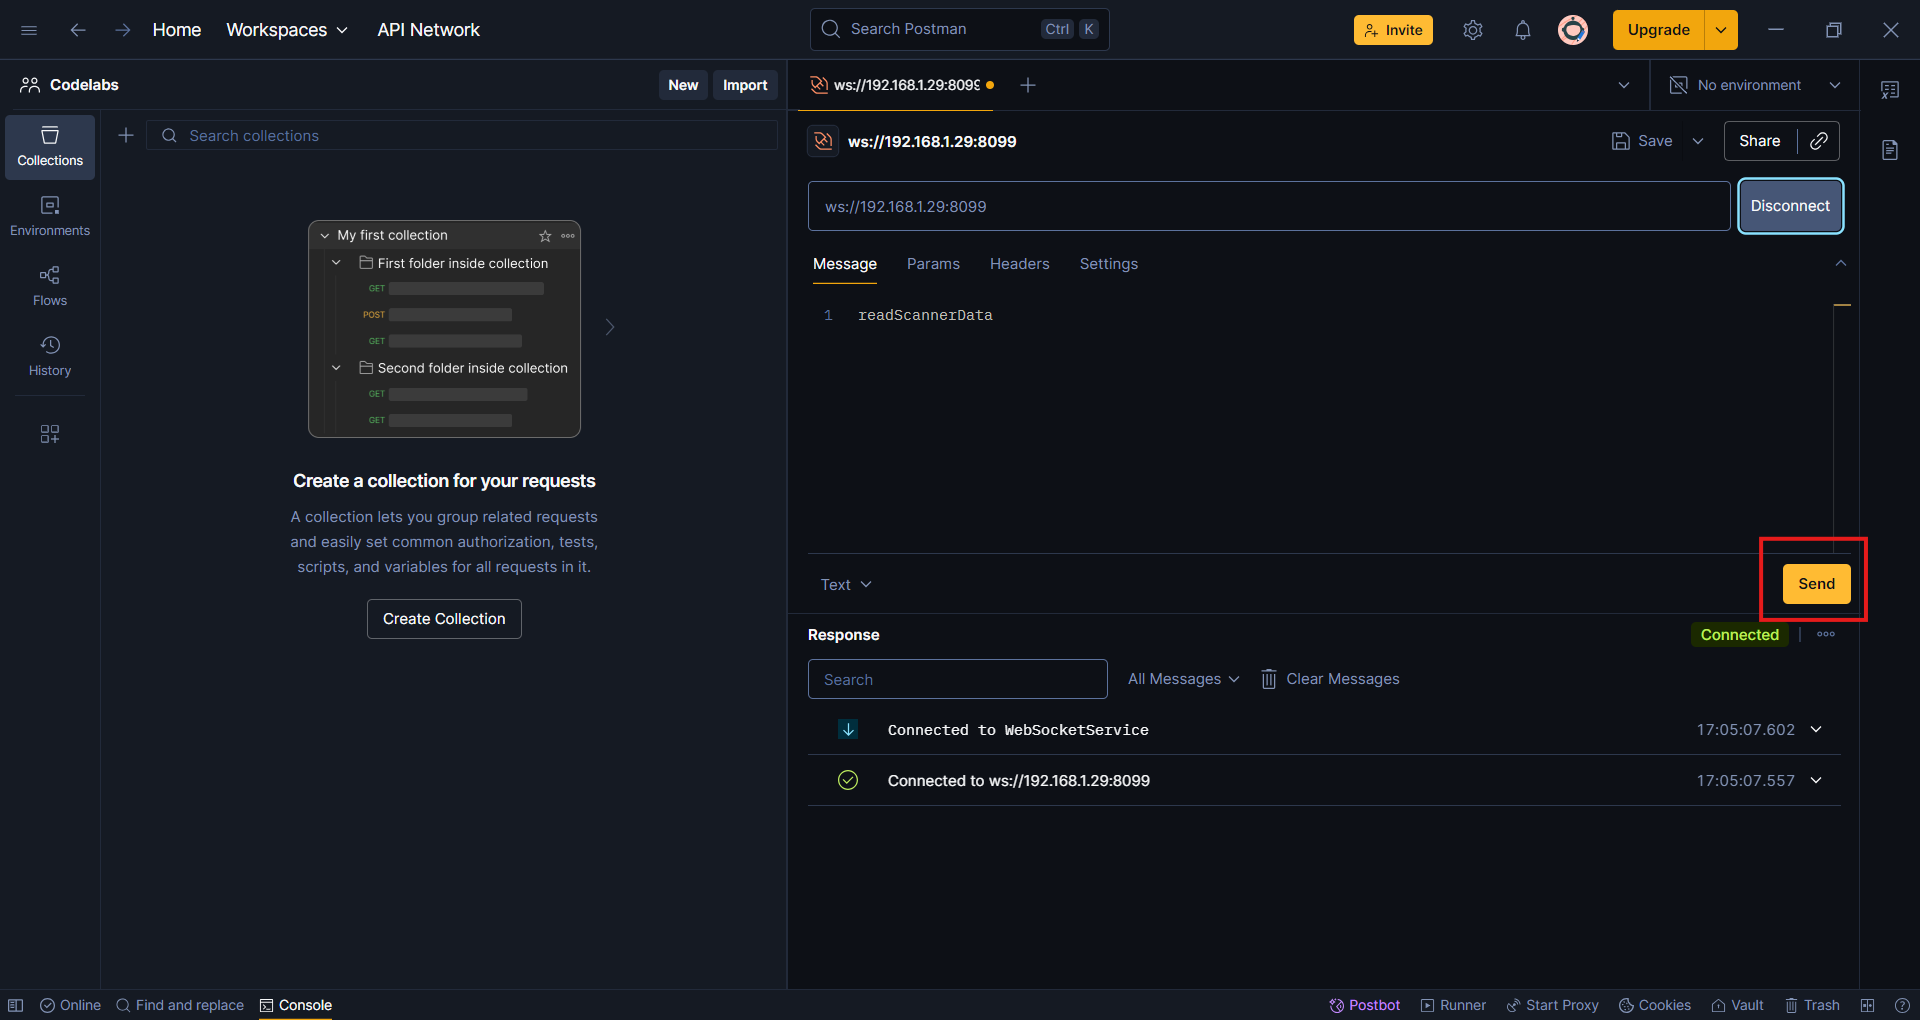
- a. Enter the command in the message field:
- b. Click the Send button:
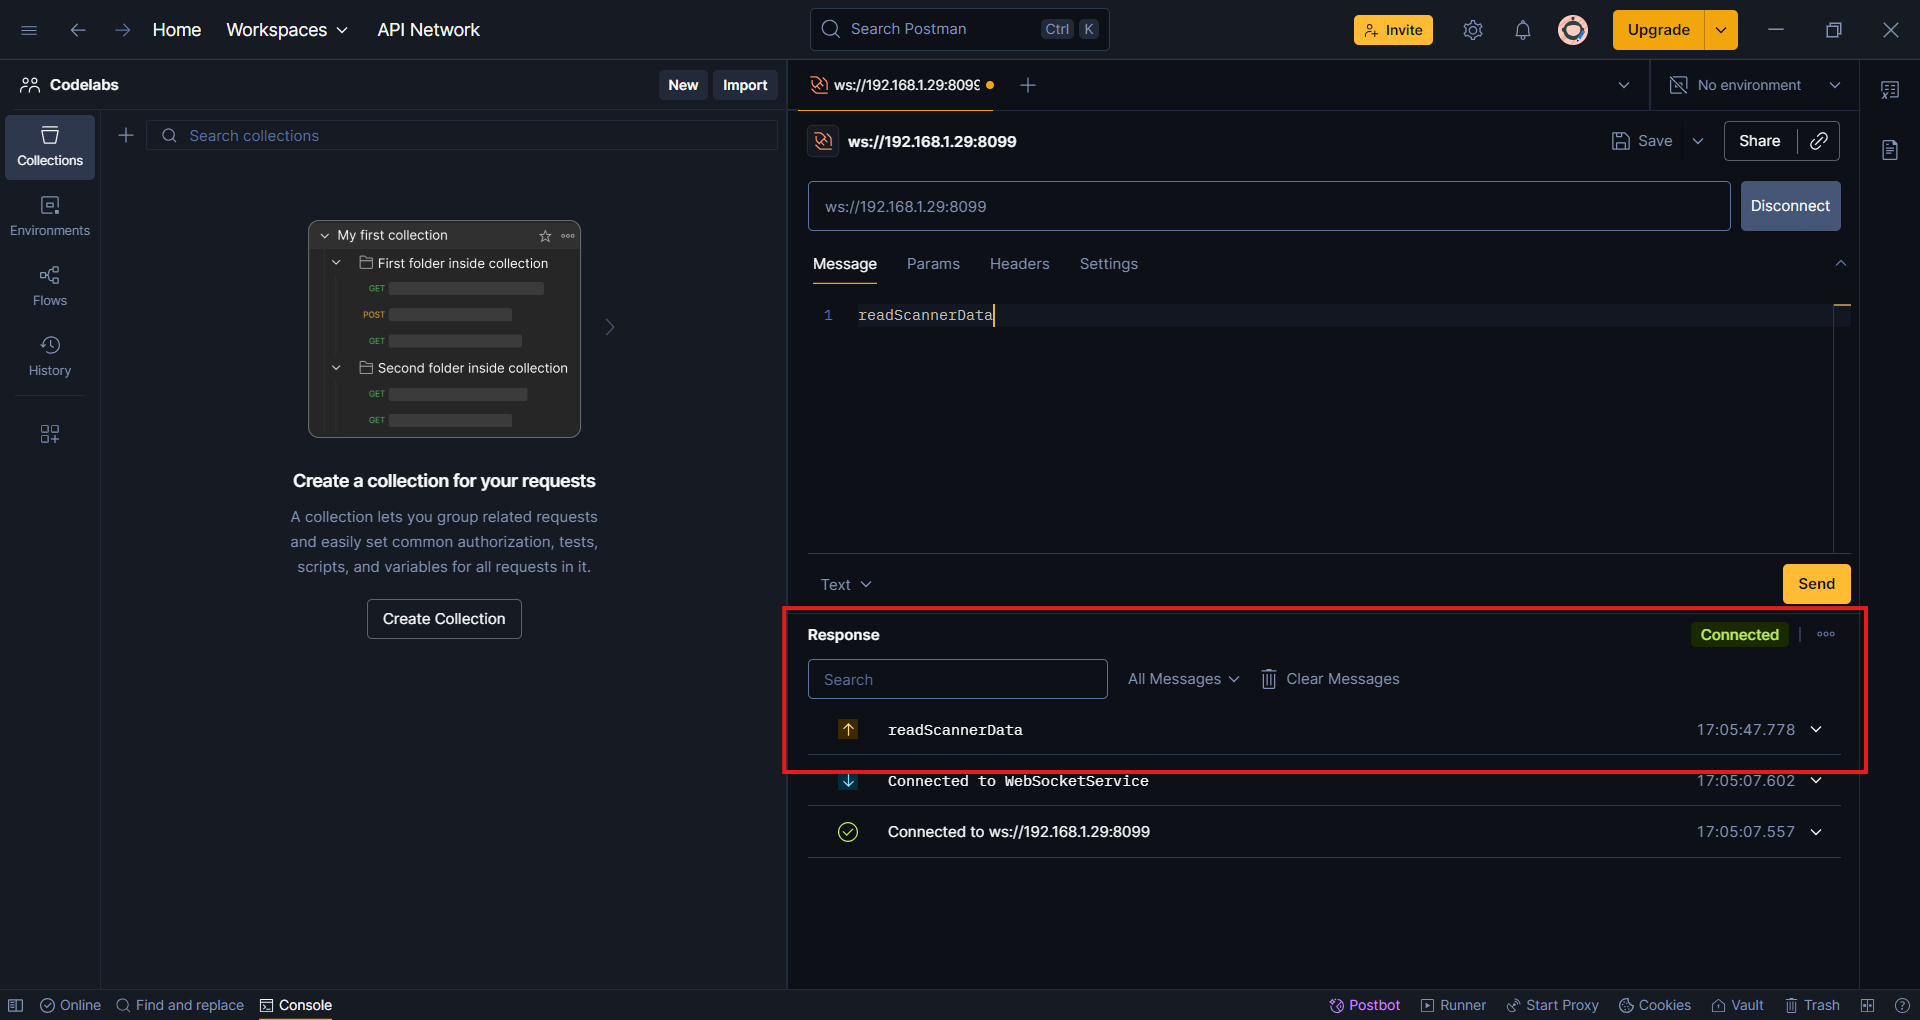
- Confirm the command has been sent successfully in Postman.
- The app will initiate a scan.
Note: Present a barcode or QR code at the bottom of the device so the reader can scan it.
- You should receive a response in Postman with the scanned data:
{
  status: "success",
  data: "<scanned-barcode-data>"
}
- In Postman, send the following command as a simple string (not JSON):
readScannerData
- a. Enter the command in the message field:
- b. Click the Send button:
- Confirm the command has been sent successfully in Postman.

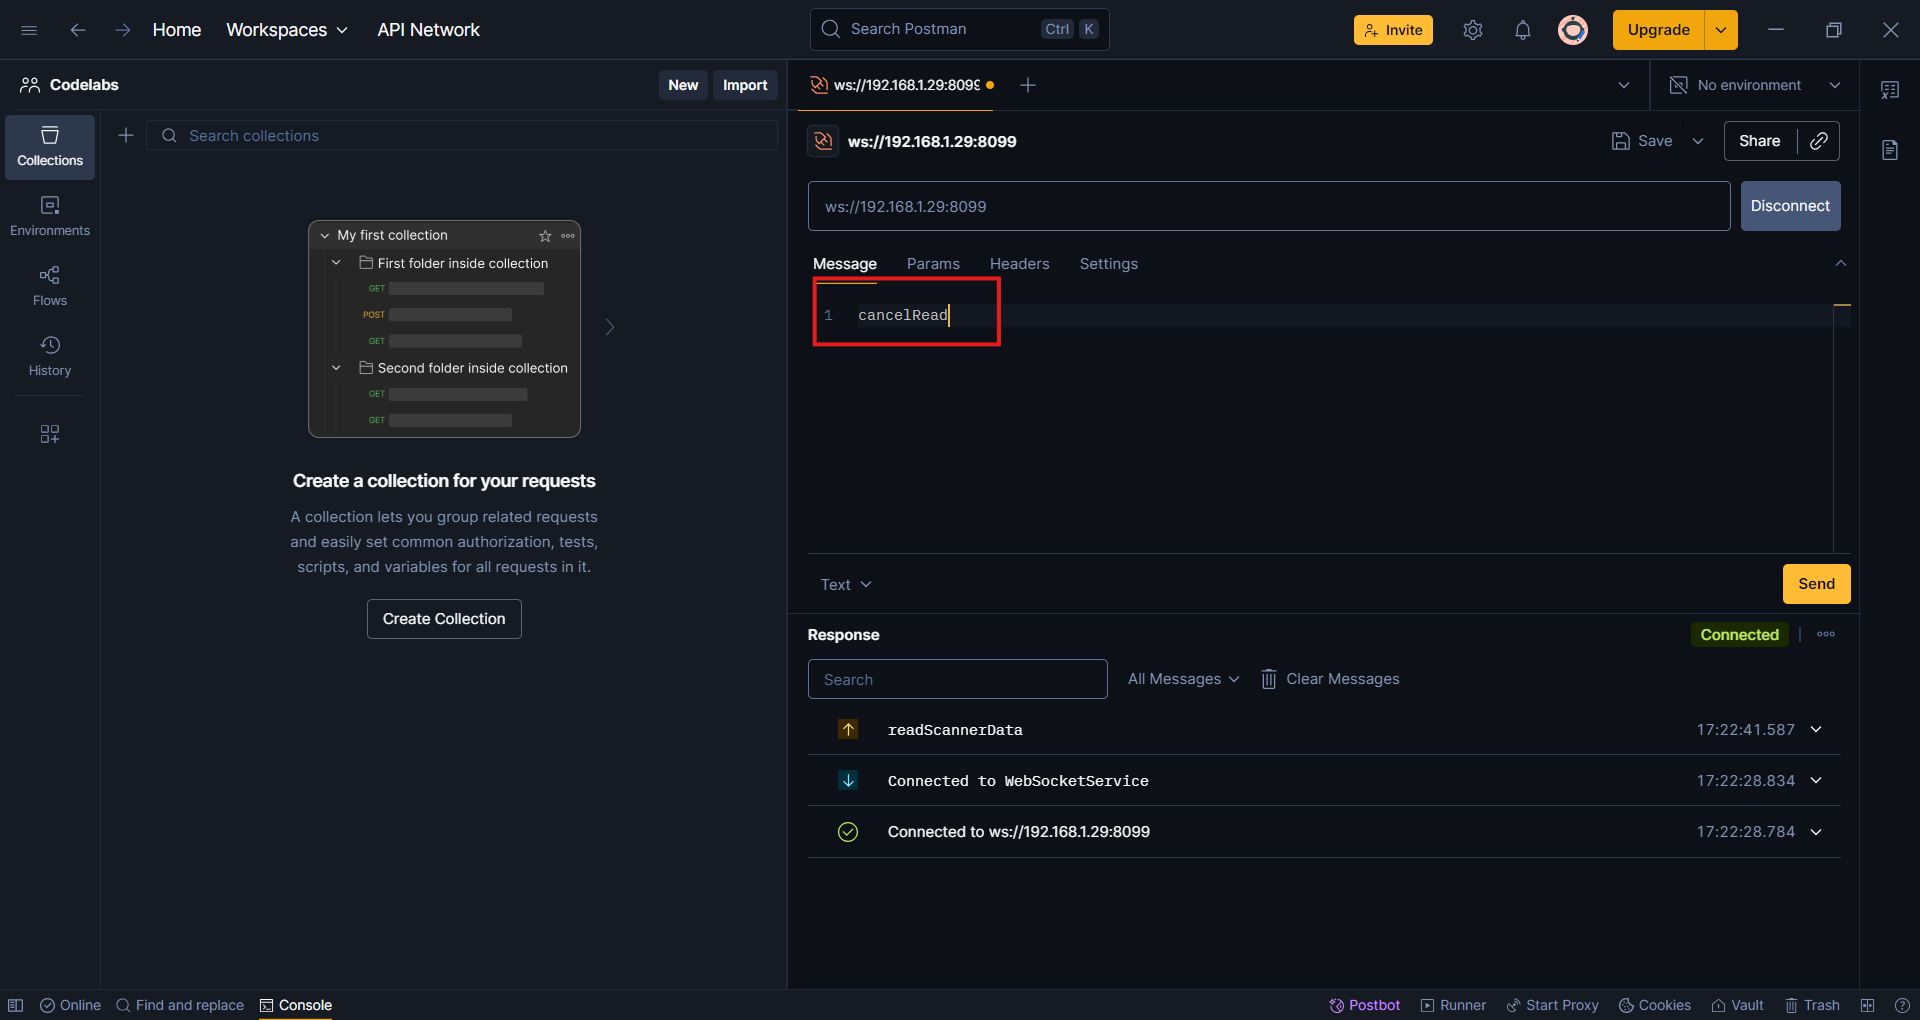
- Before scanning a barcode, send the
cancelReadcommand as a simple string (not JSON):cancelRead
- a. Enter the command in the message field:
- b. Click the Send button:
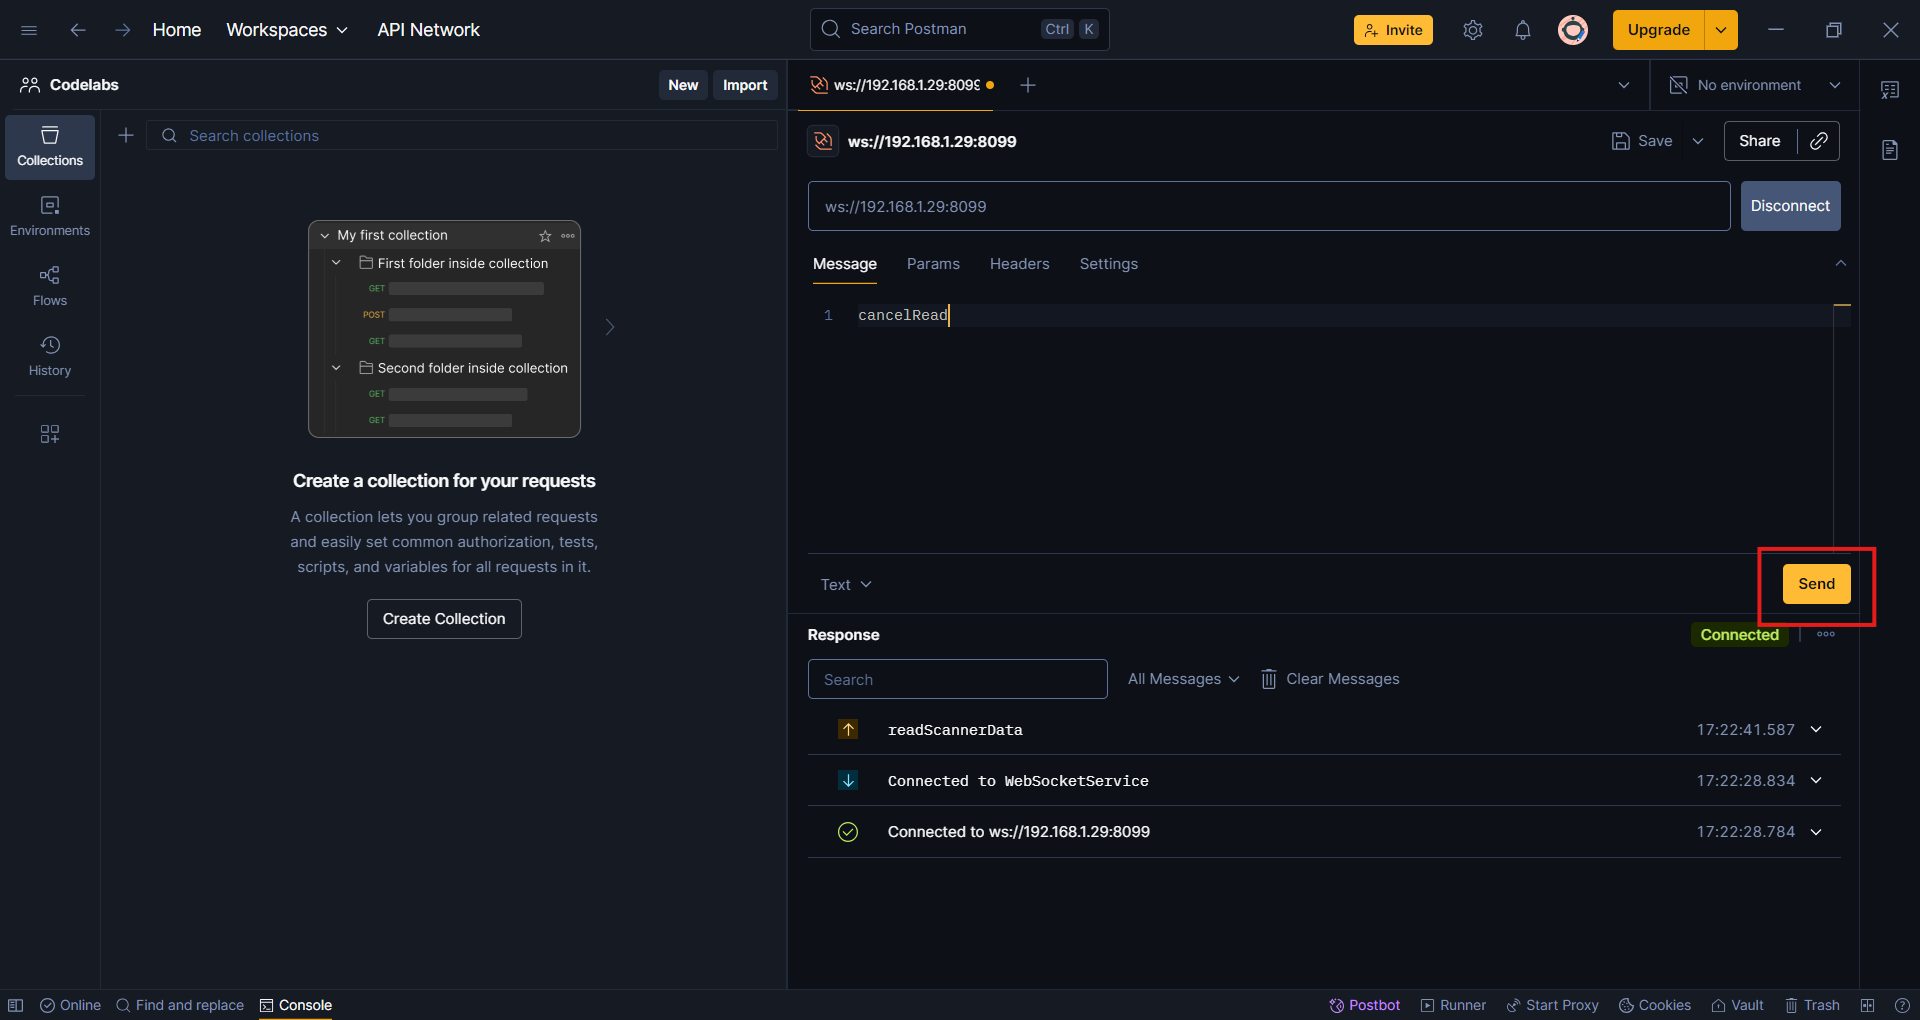
- Confirm the cancel command has been sent successfully in Postman.
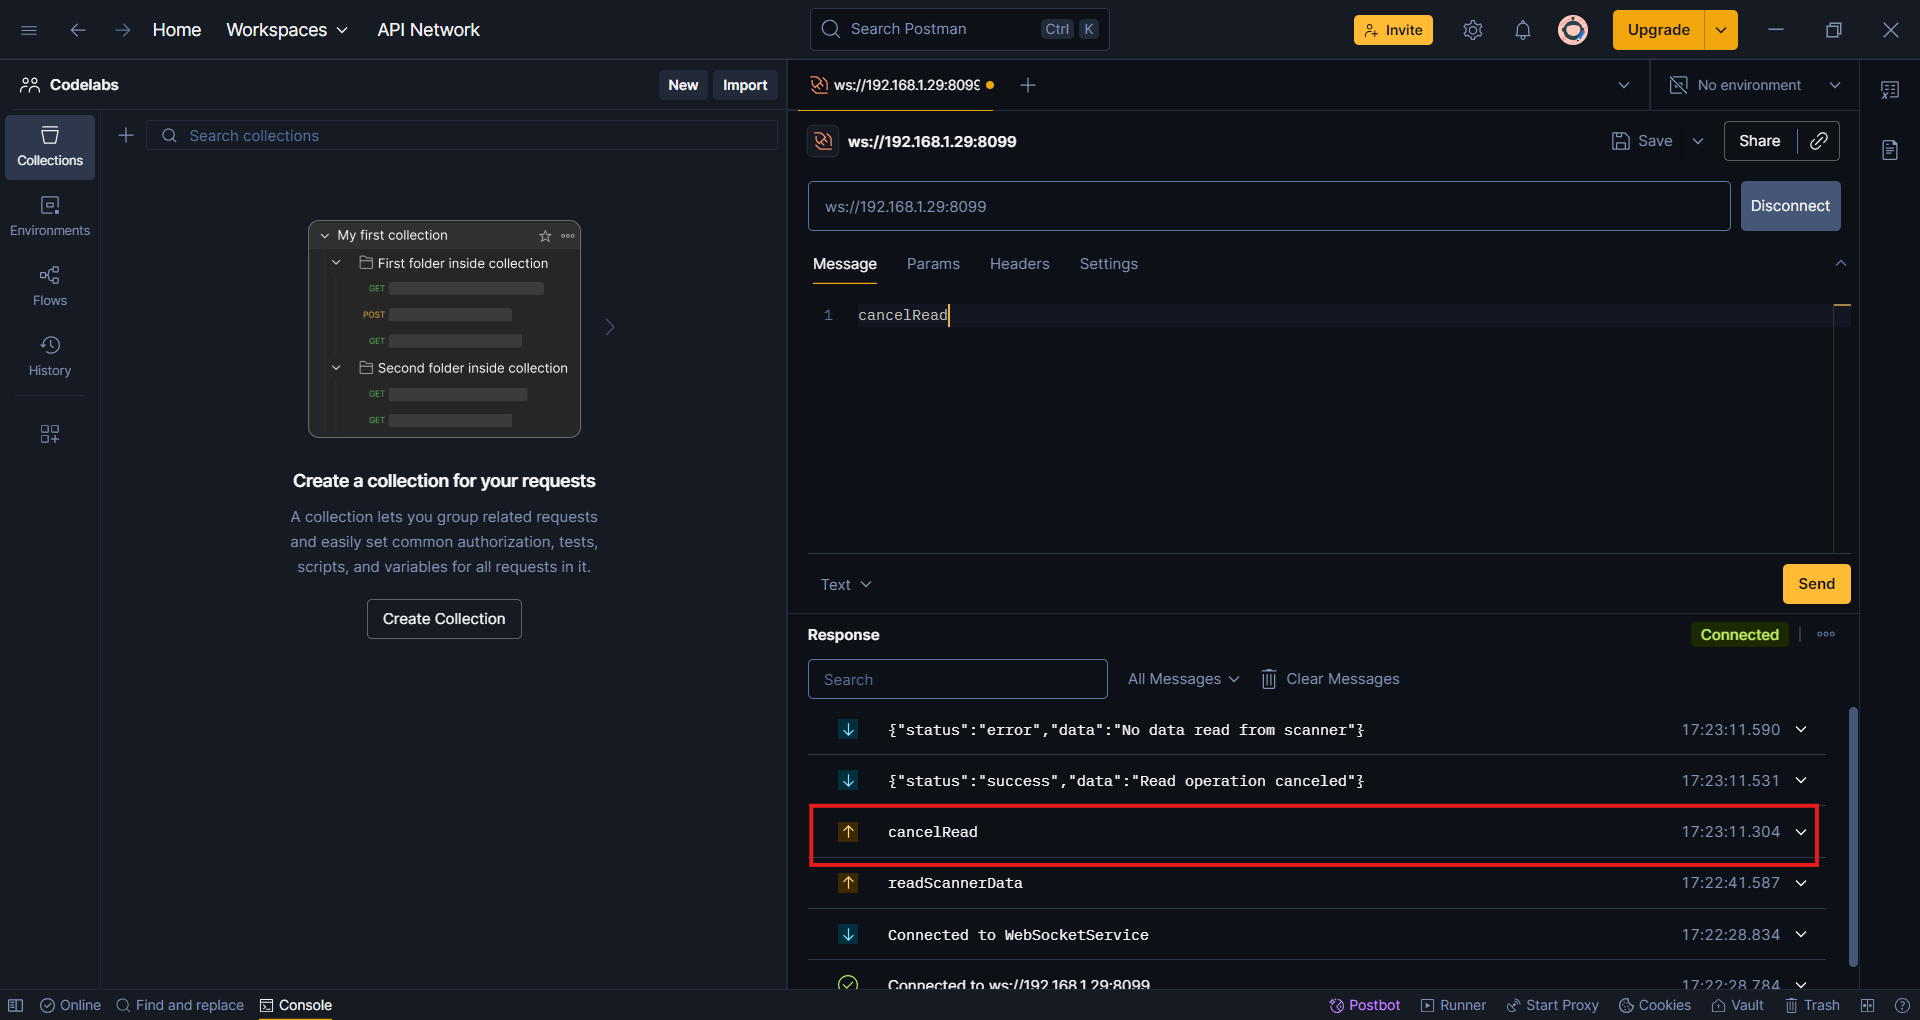
- The scan operation will be aborted. You should receive a response indicating the cancellation:
{
  "status": "success",
  "data": "Read operation canceled"
}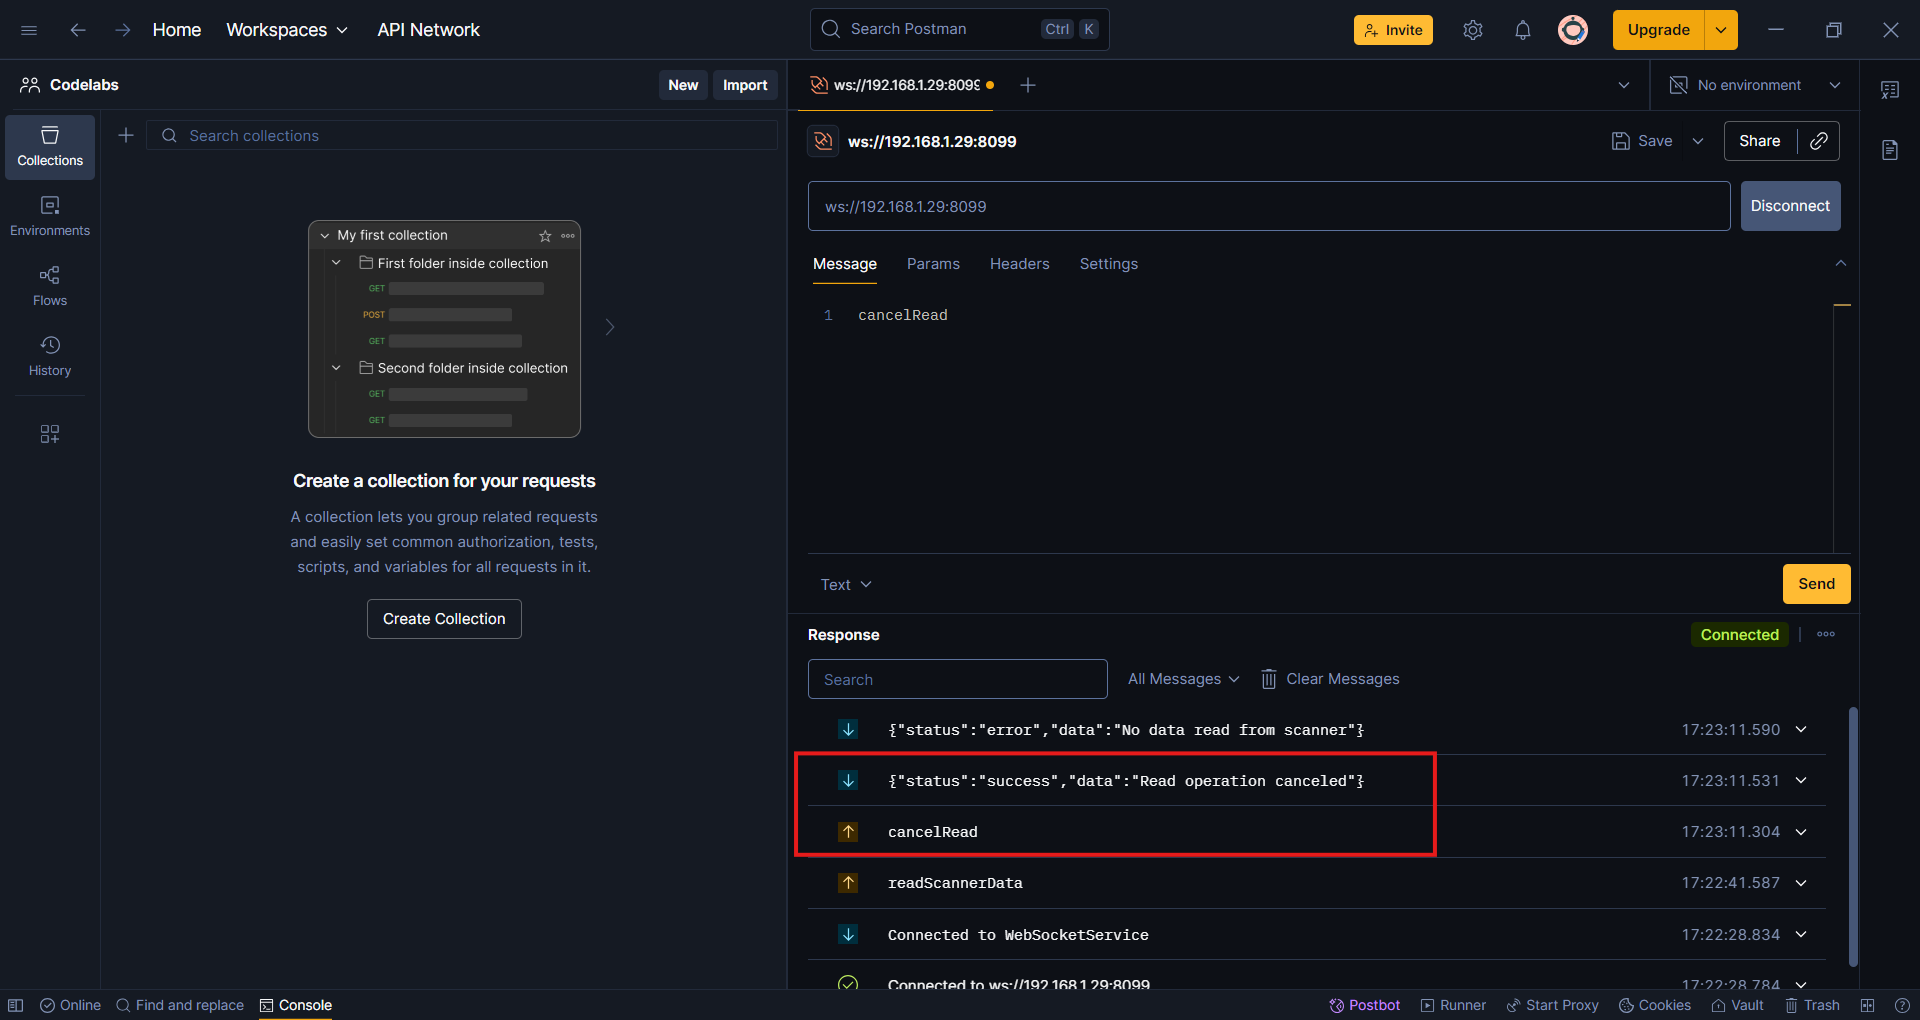
- You should also receive a response to the initial
readScannerDatacommand:{ "status": "error", "data": "No data read from scanner" }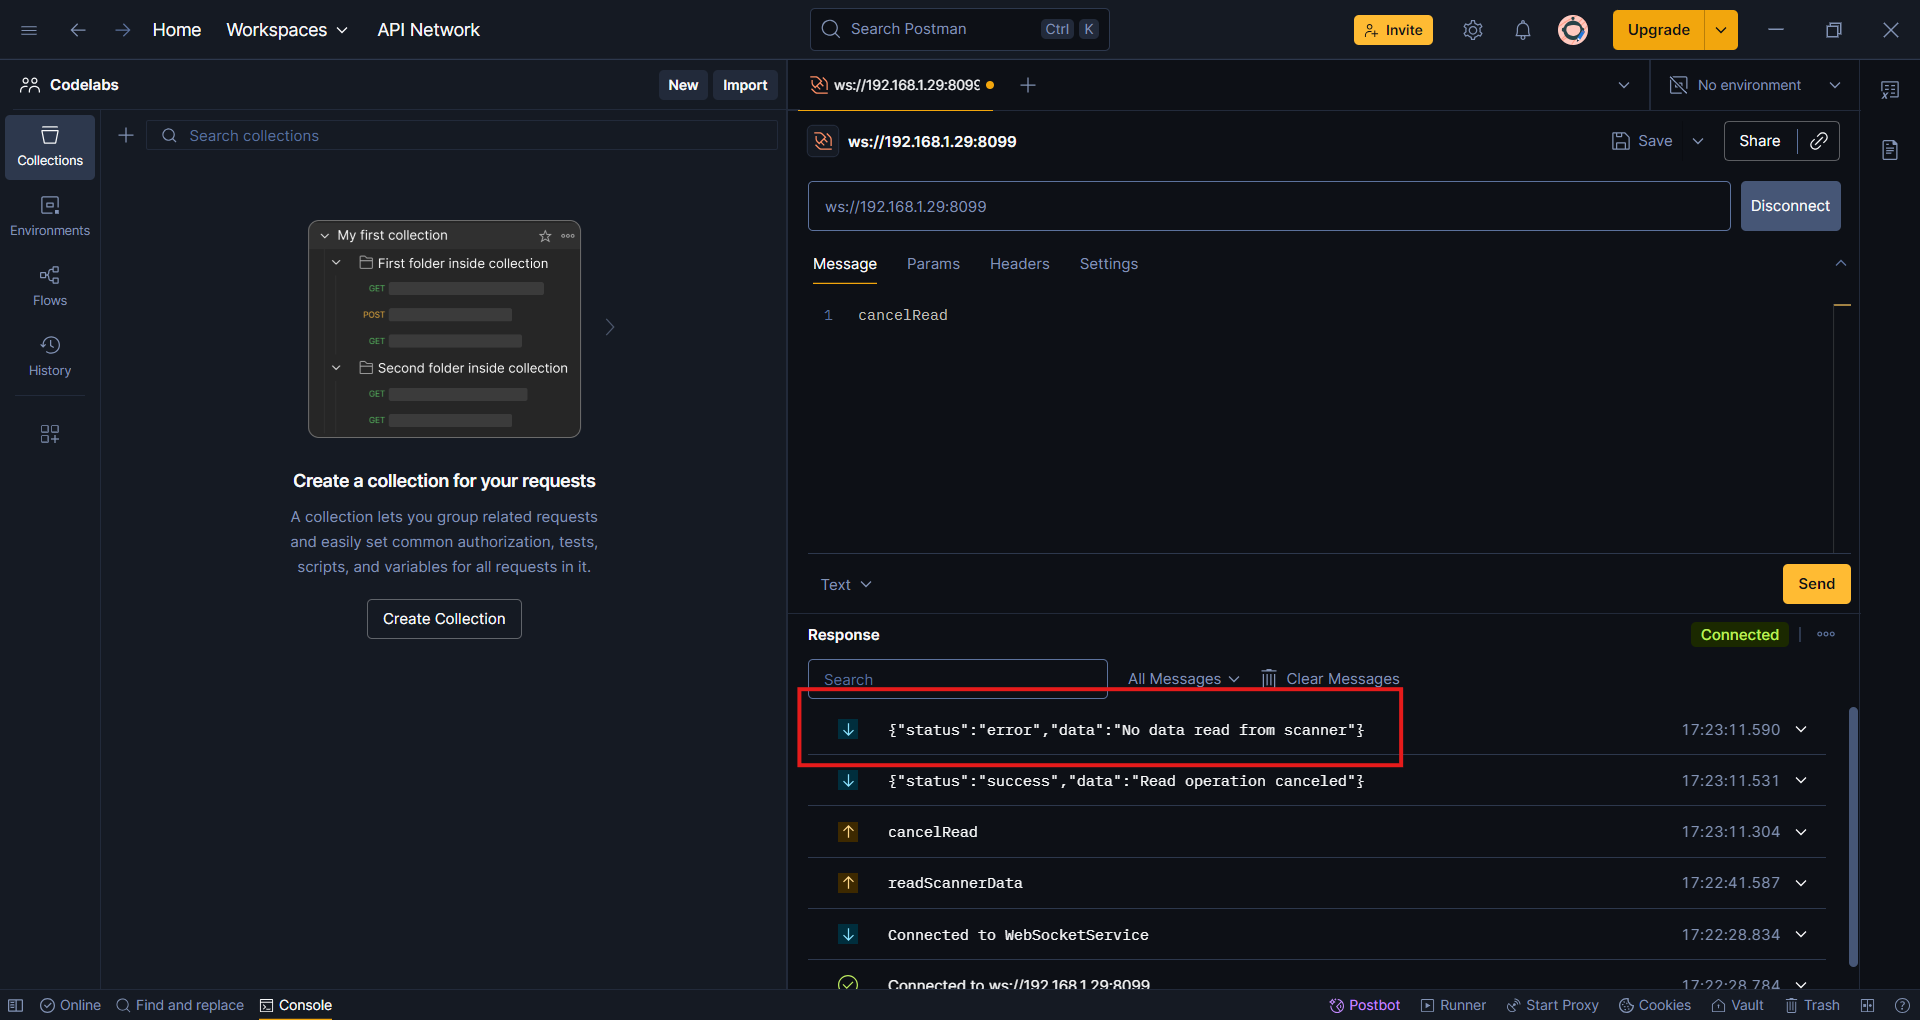
Note: This demonstrates how to abort a scan operation from an external client.
You have learned how to:
- Install and verify the Barcode Scanner app
- Connect and interact with the app using Postman
- Send commands and handle responses for both successful and aborted scan operations